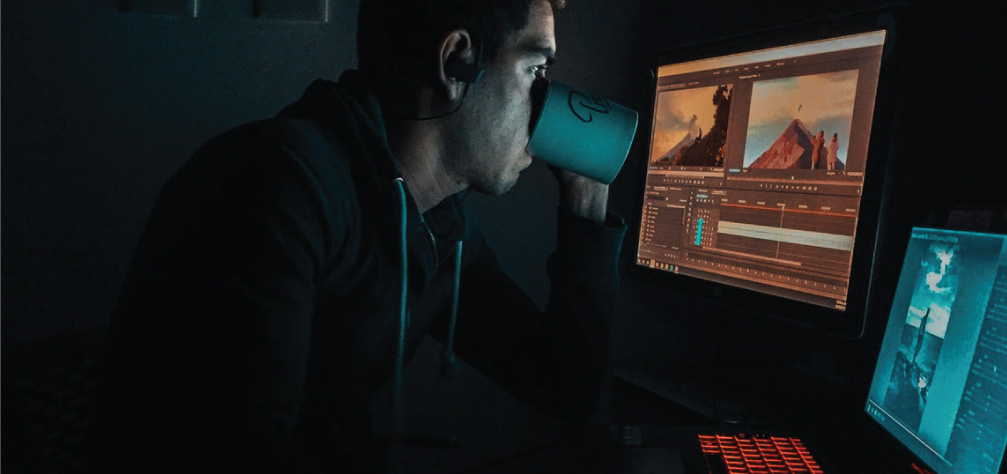
Video Editing Tips – Finish Fast
When it comes to video editing, a great chunk of time could be lost here – if you don’t have a systematic approach in place.
Common issues: Indecision. Lack of direction. Poor organization. Mental fatigue.
You need to structure your process in order to optimize your performance when video editing.
Here is my workflow.

1. Footage Transfer
Stay organized! Create a folder for each device. Inside each device, create subfolders for different media types. Photos go to “Photos”, videos go inside “Video. Don’t be lazy, create the folders, and you’ll thank yourself later when you’re searching for files.
2. Footage Review
This is when you go through all the footages you reviewed. I usually give this 2-3 passes. The first pass is to ‘refresh’ your memory – so you know what went down, and what files you’ll now be working with.
3. Qualify & Eliminate
There will be unusable footages – you should trust your instinct and know right away which you can remove. It could be a super shaky footage, out of focus shot, or poor composition. Decide quickly – and simply ask yourself if you see a place for that particular footage before it hits the bin.
4. Arrange
Now, you start stitching the footages together. Take your time, play around. If you haven’t prepared a storyline before hand, this is when you’ll eventually see your open, middle, and ending.
5. Footage Review (Round 2)
This is your second round to determine whether any footage is fluff, and which can be ‘tightened’. the objective is to cut down on any footage that doesn’t support your story. If something is too repetitive, you should notice now.
6. Rest
I always make sure I give my ‘brain’ some rest. Trust me, you need to let it breathe. Come back tot he screen later. Take a walk. Have a coffee.
Once you return, you’ll be able to assess your project with fresh pair of eyes, not exhausted ones.

7. Start Editing
This is where the real editing begins. Don’t aim for perfection – just make sure you tell your story as succinctly as you can first.
8. Color Grade
Color grading is no rocket science. Adjust the colors on screen so it syncs with the mood of your video’s story.
9. Sound Effects
Your chosen sound effects should support visuals that need emphasis. Just like music, the sound effects itself can help shape the viewing experience! Don’t go lazy on just putting background music.
10. Visual Effects
Before you slap on whatever fancy visual effect footage or plugin you have on your desktop, plan this step smartly. Only apply effects that help communicate your message, or amplify your emotions.
12. Incubate
You should always let your footage sit for a day before you render it. Give yourself time to reassess if there are areas for improvement, and what you could do better.
13. Render and Distribute
Make sure all the correct settings are applied before you hit that ‘render’ button – or you’ll regret having to go back to adjust later, only to put yourself in the waiting line again.
That’s all for now 🙂 I’ll make sure to keep this post edited when I revisit later.
If you have any thoughts on how to optimize your video editing process, please feel free to e-mail us at info@recquixit.com
All the best!
Andrew


